
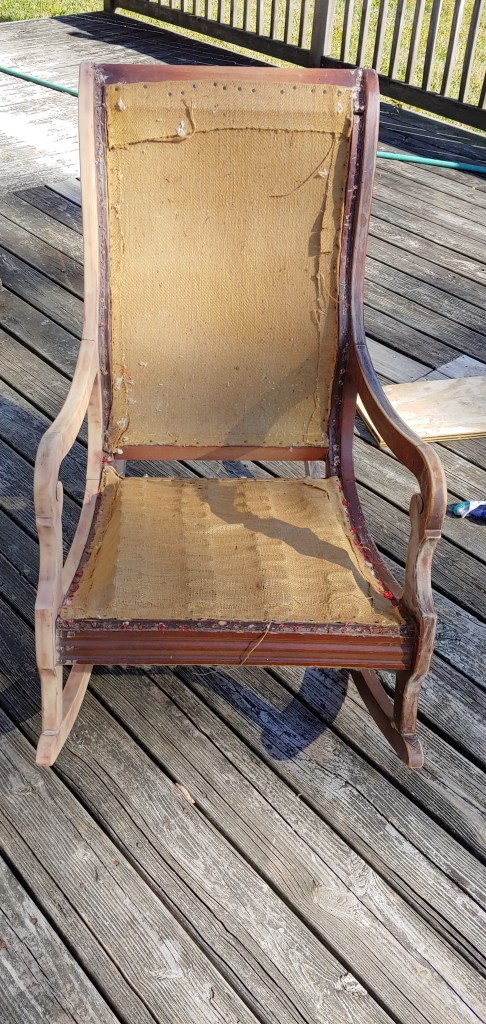
I am so excited about this post. I just finished up my sourdough part 2 post and I had to grab the pictures off the cloud and start talking about this. We are a low stress, moving every 3 years kind of family with 6 kids so, the frills and the new furniture is just not in our cards for at least 10 more years. Not that we don’t like nice things or that people who have nice things are high maintenance, it’s just not our style. The hubs purchased this rocker from the habitat retail store probably about 2 years ago. It was old and a little tattered but, he fixed it structurally and it was decent. I kept a throw on it all the time because it was discolored and had a small rip. Well, that rip grew, and I was finally sick of looking at that chair. Here is my step by step process of refinishing and reupholstering this rocker!


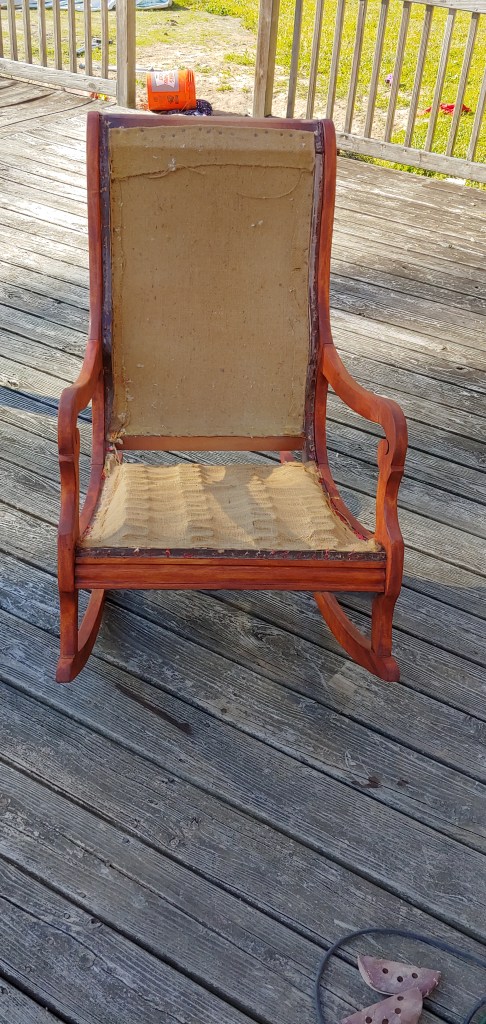
Here she is after I ripped all of the material and foam out of it.
I used a porter palm sander, with a series of sand paper going from 60 to 220. I had to hand sand the little details which was time consuming.

Day 2 was stain day! I used a stain I found in the garage called gun stock and used a foam craft brush to apply the stain.
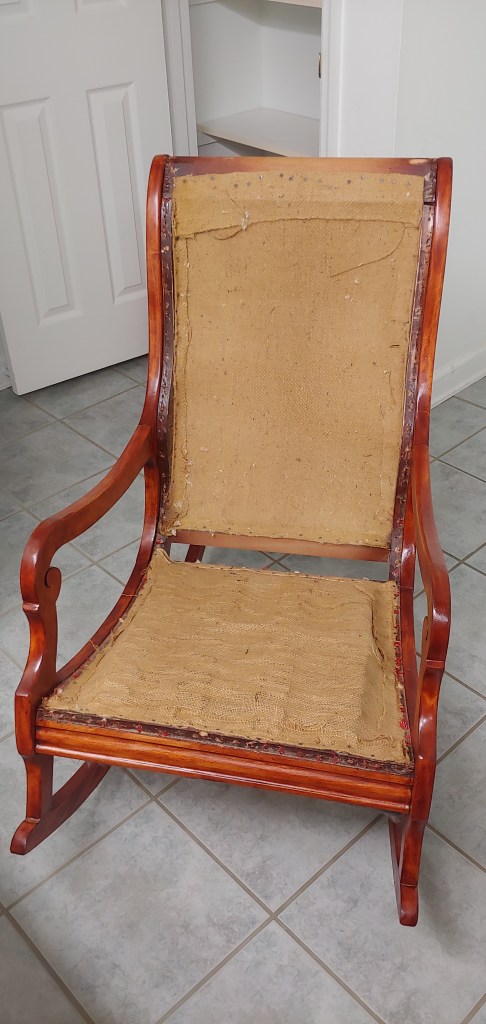
I waited for the stain to dry and put the first coat of poly on the chair, lightly sanded it and put a second coat of poly on. It was about to rain and I didn’t want the humidity to mess up the process so it dried in my bathroom. NOTE: This stuff stinks so if you are going to do this, put it in a room that can be locked. My bathroom smelled for like a week.
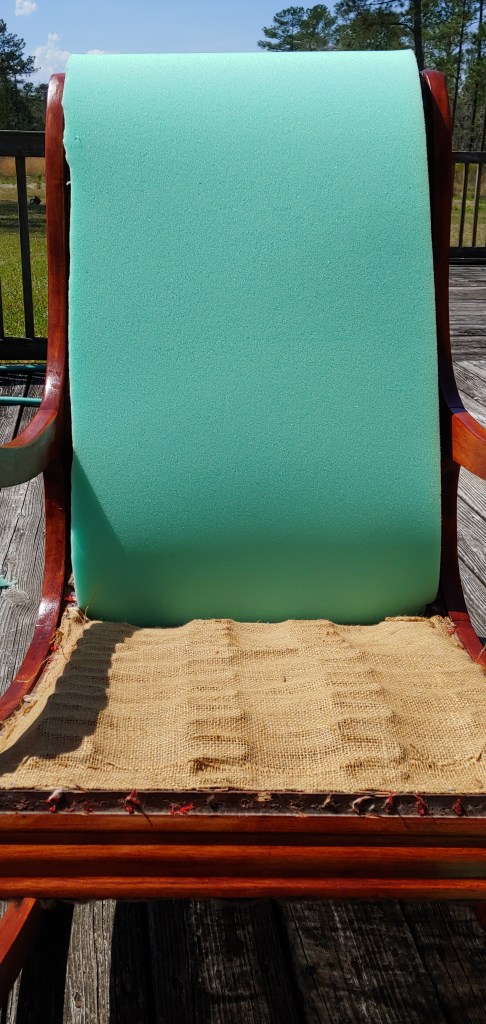
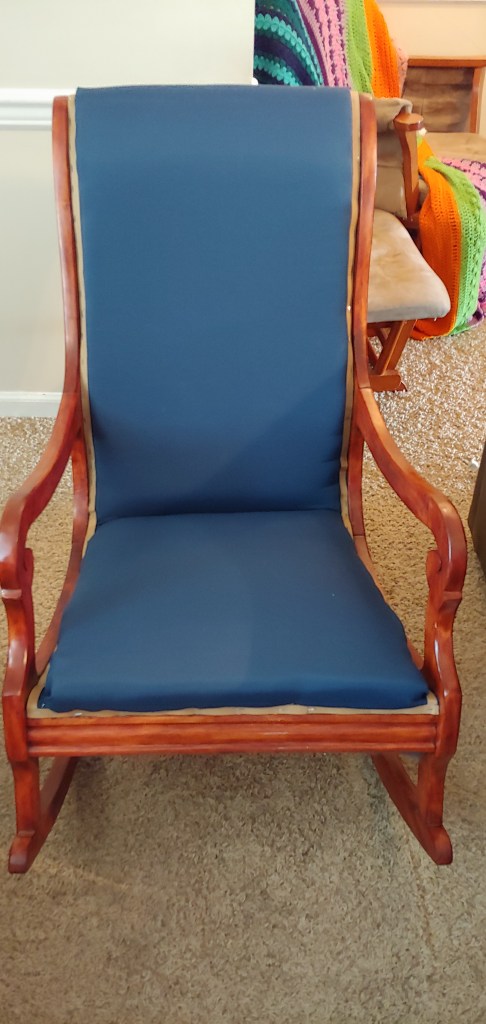
Foam time! I was all too excited to start working on this! I cut the foam for the top part, cut the fabric and attached most of it using tacks and a hammer. I got to a point where I could not use the tacks anymore so, I started to use the staple gun! That made quick work out of that.

On the sides here I have the tack strip in place just to see how it looked. There is a half inch gap around the whole chair and on the original chair, there was a tack strip and a strip of fabric going around the chair. I placed the foam for the bottom, cut the fabric and attached the fabric using the staple gun.
I continued with the tack strip all the way around the chair and decided to staple it.

I bought this rope from a Vet owned company called Sgt. Knots . They have all sorts of things, and you get 14% off your first purchase with them! Here’s the link https://sgtknots.com/ I attached the rope with screws all the way around the chair.
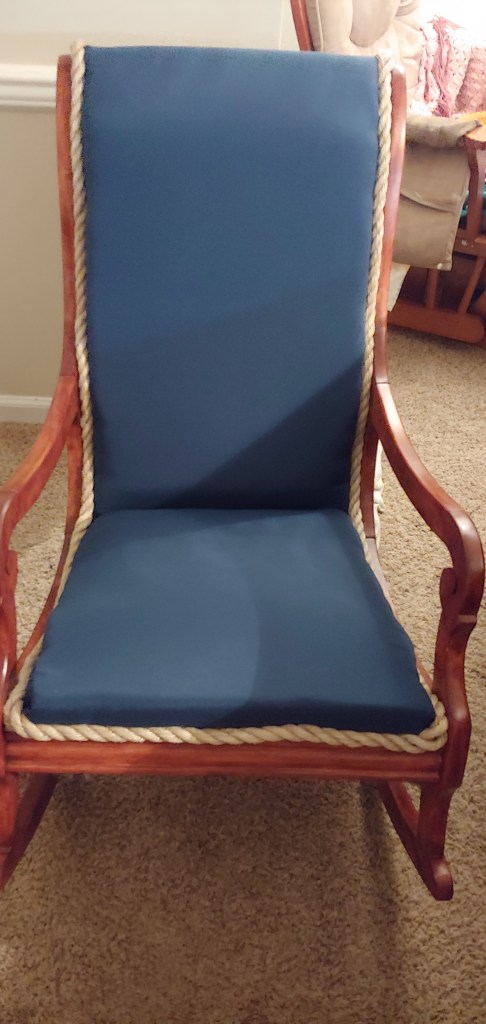
The final product! I was so excited about this and I can’t wait to do more!

Happy Crafting Ya’ll!
Love,
Ce

Okay, Okay, Okay……………………..you are more than AMAZING!!!!! Love all of you!!!!!
LikeLike
Looks awesome. U rock girl
LikeLiked by 1 person
WOW I’m impressed!
LikeLike
You did a great job!
LikeLike
Wow! That looks amazing!
LikeLiked by 1 person